Installation planning
Before rubber flooring installation: a subfloor preparation checklist
A new rubber surface should start with a clear understanding of the floor underneath it. Whether the project is a gym renovation or an outdoor activity area, identifying base problems before installation makes the scope easier to price and the handover easier to manage.
Record what is already on the floor
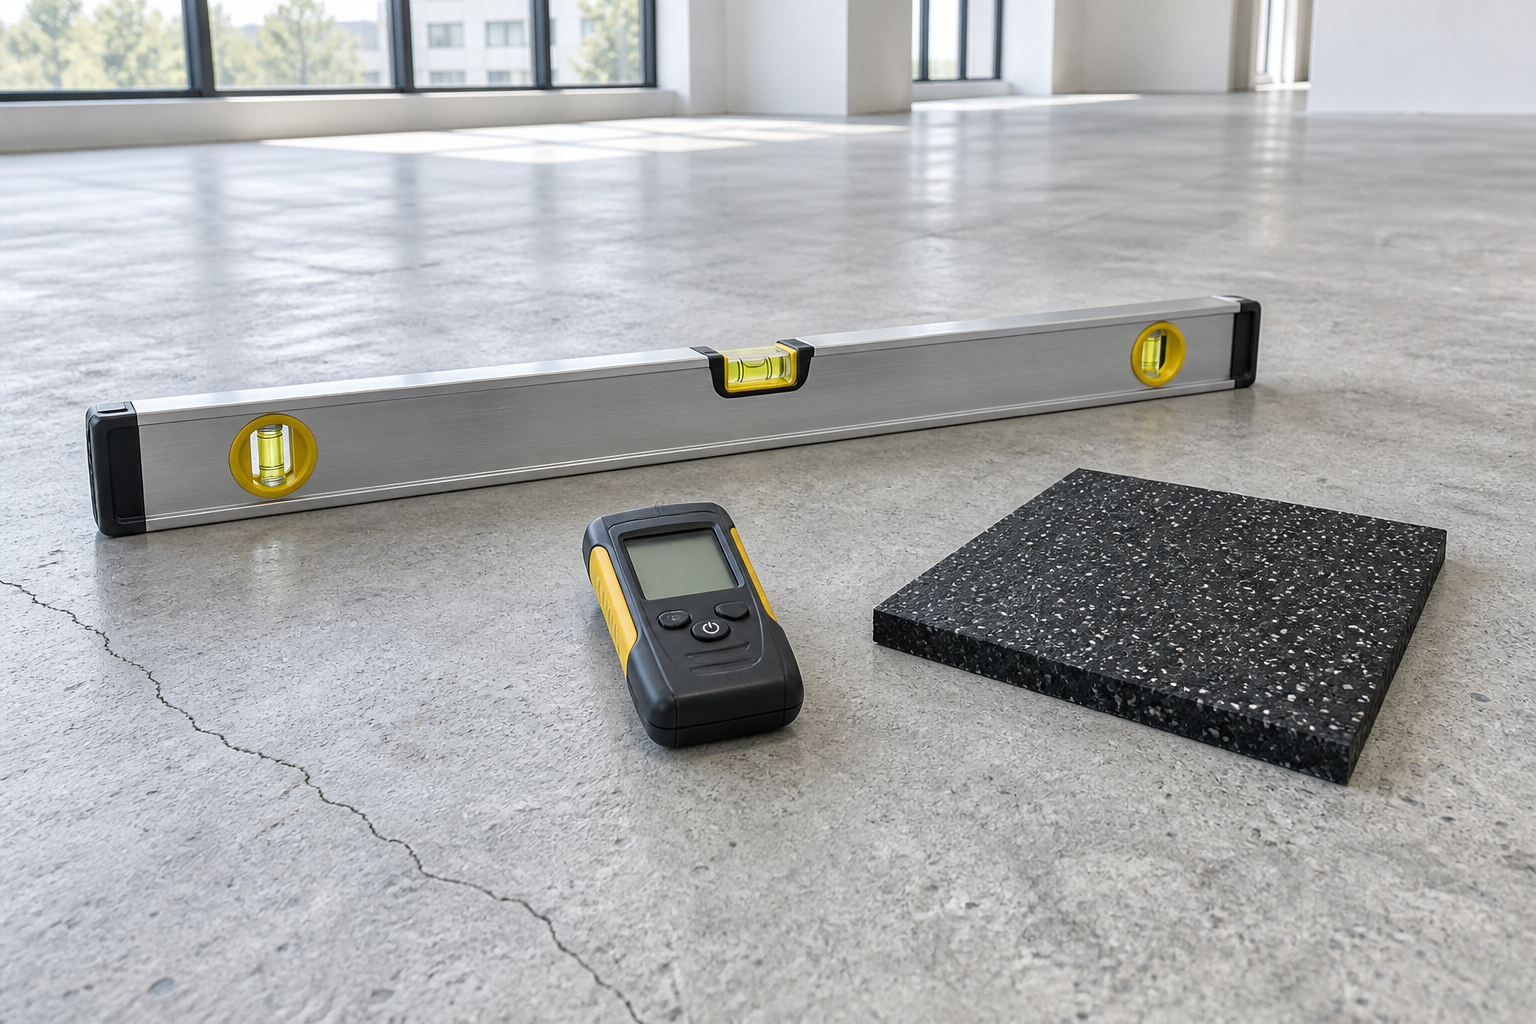
Photograph the whole area and take close-ups of cracks, loose tiles, damaged screed, old adhesive and uneven transitions. Tell the installer what the existing finish is and whether any previous flooring has been removed. Mark defects on a sketch so that the preparation scope refers to actual locations.
Do not assume a thicker rubber mat will solve an unstable or uneven base. Where movement, structural capacity or unexplained cracking is a concern, ask the relevant building professional to assess it before the flooring installation is planned.
Agree how moisture will be assessed
Tell the installer about leaks, damp patches, recent concrete work or water entering at doors. A floor that looks dry in a photograph has not necessarily passed the checks required for a particular adhesive or flooring system.
Ask which tests and acceptance limits apply to the proposed installation, who will carry them out and how the results will be recorded. Avoid adopting a universal drying period or moisture limit from another project. Preparation and adhesive requirements should come from the selected system's documentation.
Plan levels, doorways and edges together
Compare the finished floor height with door clearance, adjoining rooms, drains and access routes. Include the thickness of every proposed layer, not just the visible rubber surface. Agree how edges and transitions will be finished before materials are ordered.
For interlock mats, ask about perimeter restraint and movement requirements for the actual layout. For bonded flooring, confirm the base preparation and adhesive compatibility. Neither method should be chosen purely because it appears easier to install.
For outdoor work, resolve drainage before the finish
Document where water collects and how it leaves the site. Photograph drainage outlets and the levels around the proposed surface. Ask who is designing and providing the supporting construction, falls and drainage details.
Do not assume that a rubber surface described as permeable will fix drainage below it. The finished build-up needs a defined route for water, and the base must suit the chosen system. For play areas, preparation is only one part of the brief: the equipment and required impact-test evidence also need review. See our playground surfacing comparison.
Put preparation and handover responsibilities in writing
- Existing finish removal and waste handling.
- Assessment and repair of identified base defects.
- Required testing and acceptance before installation.
- Perimeter finishing, transitions and drainage work.
- Access restrictions, installation conditions and reopening instructions.
Ask whether the quotation includes this work or assumes a ready-to-install base supplied by another contractor. Keep photos and acceptance records with the project file. Our quotation checklist helps identify exclusions before you compare totals.
Send ACCT Global your site location, dimensions, base photos and intended activity. Those details help establish a practical material and installation brief without guessing from the finished-floor appearance alone.